
Setting Up a Smart Home for the First Time

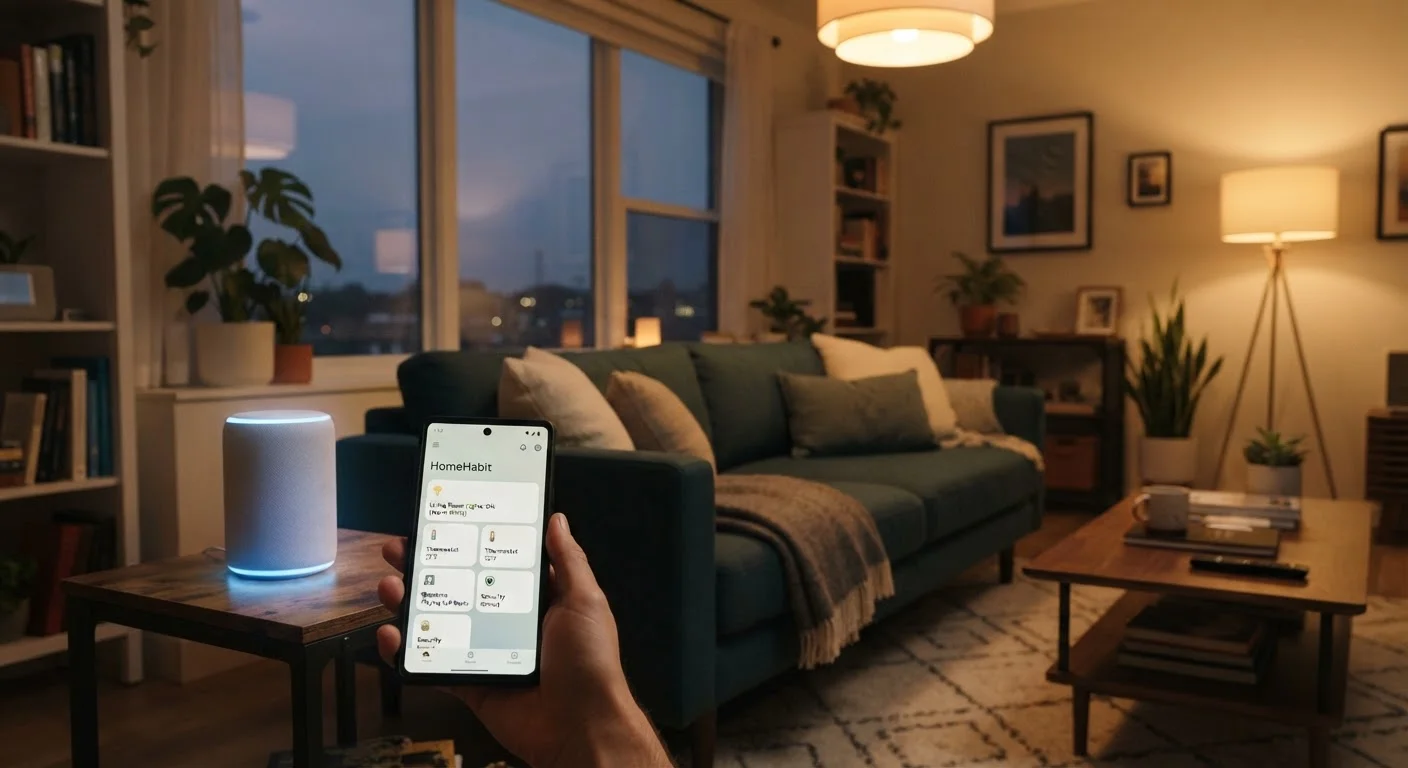
Photo: InfoAlly.net | Finding Info Made Easy editorial
Key Takeaways
- Start with a strong, reliable Wi-Fi network before adding any smart devices.
- Choose one ecosystem (such as Matter, Google Home, or Amazon Alexa) and stick with it early on.
- Add devices one at a time to catch problems before your setup grows complex.
- A hub or smart speaker often acts as the central controller for your entire home.
- Grouping devices by room in your app makes voice and automated control far more intuitive.
Why Setup Order Matters
A smart home is really a small network of connected devices, and like any network, it needs a solid foundation before you add complexity. Trying to install a smart lock or thermostat before your Wi-Fi is stable and your hub is configured is the single most common cause of first-timer frustration. Getting the order right means each new device pairs cleanly and works immediately.
If you are still weighing which devices even exist and how they connect to each other, our homeowner's starting point for smart home tech is the right place to begin before following the steps below.
What you will need
Smart Home Hub or Smart Speaker
Acts as the central controller that connects and communicates with all other devices in your home.
Smartphone with Ecosystem App
Used to configure, pair, and manage every device through the manufacturer's official app.
Mesh Wi-Fi System
Extends reliable wireless coverage to every corner of your home, preventing dead zones that drop device connections.
Smart Plug
An inexpensive entry-level device ideal for testing your setup before investing in more complex hardware.
Step-by-Step Setup
Work through the following steps in order. Each one builds on the last, so skipping ahead - especially past the network and hub stages - tends to create problems that are harder to diagnose later.
Secure Your Network First
Audit and strengthen your Wi-Fi network
Smart devices are only as reliable as the network they run on. Walk through your home and identify any rooms where your phone signal drops or slows significantly. If you find dead zones, consider a mesh Wi-Fi system before adding devices. Our guide to mesh Wi-Fi networks covers this even if you rent your space.
Confirm your router broadcasts on the 2.4 GHz band - most smart home devices require it, even if your phone prefers the faster 5 GHz band.
Choose and install your hub or smart speaker
Your hub is the foundation of the whole system - it is the device everything else talks to. Plug it in centrally, connect it to your app, and complete any firmware updates before doing anything else. If you are new to smart speakers specifically, our non-technical guide to smart speakers walks through the full setup process.
Pair your first device - keep it simple
Start with a single smart plug rather than a complex device like a thermostat. Open the hub's app, tap Add Device (the exact label varies by app), and follow the on-screen prompts. Most devices enter pairing mode by holding a button for a few seconds - your app will tell you exactly what to do.
Once the device appears in the app and responds to a test command, you have confirmed your basic setup is working.
Organise devices into rooms inside the app
After pairing, assign each device to a named room - 'Living Room', 'Kitchen', and so on. This one step transforms your setup from a list of device codes into something you can control naturally. You can then say 'turn off the bedroom lights' or tap a single room tile to control everything in it at once.
Create one simple automation to test the system
Automations are instructions that run without you pressing anything - for example, turning on a lamp at sunset. In your app, look for a section labelled Automations, Routines, or Scenes. Set up one low-stakes automation, such as a smart plug switching on at a scheduled time, and observe it run. This proves end-to-end functionality before you invest time in more complex rules.
Add remaining devices one at a time
Now that your foundation is solid, expand the system gradually - one device, one room at a time. This methodical approach means that if something goes wrong, you will immediately know which new addition caused the problem. For a broader view of where to take your setup next, explore our complete guide to smart home security systems.
Start Small, Expand Gradually
Mixing Ecosystems Causes Frustration
The content on this site is for informational purposes only and is not a substitute for professional advice. Always consult a qualified professional for guidance specific to your situation.