
Setting Up a Mesh Wi-Fi Network in a Home You Don't Own

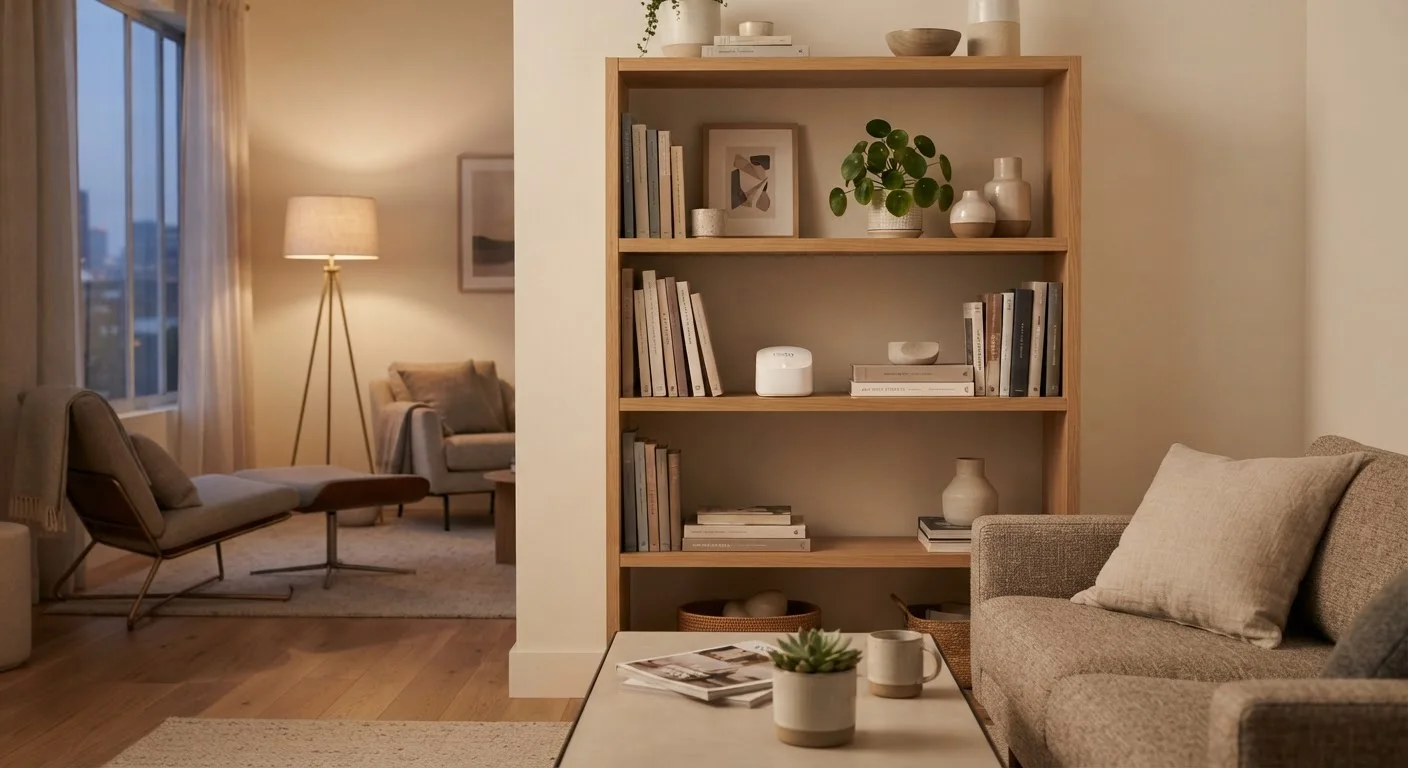
Photo: InfoAlly.net | Finding Info Made Easy editorial
Key Takeaways
- Mesh Wi-Fi systems eliminate dead zones using multiple nodes that communicate wirelessly - no wall drilling needed.
- Renters can set up a full mesh network without modifying the property or violating lease terms.
- Node placement strategy matters more than the number of nodes you own.
- Your existing ISP router stays in place; mesh nodes connect to it rather than replacing it.
- A two-node starter kit covers most apartments and small multi-room rentals effectively.
What Mesh Wi-Fi Actually Does (and Why Renters Benefit)
A standard single router pushes Wi-Fi outward in all directions from one fixed point. Walls, floors, and appliances absorb and deflect that signal - which is why the bedroom at the far end of the apartment often loads pages slowly while the living room feels lightning-fast. A mesh Wi-Fi system solves this by distributing the network across two or more small nodes. Each node communicates with the others, and your devices connect automatically to whichever node offers the strongest signal at any given moment.
For renters, the appeal is practical: mesh nodes sit on shelves, plug into standard wall outlets, and connect to your existing internet setup without any permanent changes to the property. There's no drilling, no cable routing through walls, and nothing to patch when you move out. The system is entirely self-contained and portable.
Understanding a bit about how these wireless signals work can help you place nodes more effectively. Our guide to wireless protocols explains the Wi-Fi standard in plain language if you want deeper context.
What you will need
Step-by-Step: Setting Up Your Mesh Network
Follow these steps in order. The whole process typically takes under an hour, even if you've never set up networking equipment before.
Identify your internet entry point
Locate where your ISP's router or modem sits - this is where the internet cable enters your home. Your primary mesh node will connect here. Note which room it's in and whether there's a free ethernet port on the back of the router (most have at least one or two).
Connect the primary mesh node to your router
Using the ethernet cable included with your mesh kit, plug one end into a LAN port on your ISP router and the other into the ethernet port on your primary mesh node. Then plug the node into a wall outlet. The companion app (downloaded to your smartphone) will guide you through the initial pairing process, which typically involves creating an account and naming your new network.
Plan satellite node placement before you plug in
Walk through your home and identify where signal is weakest - a back bedroom, a home office, or a bathroom hallway are common culprits. Satellite nodes (the second and third units in your kit) should be placed roughly halfway between the primary node and the dead zone, not in the dead zone itself. Nodes communicate best with each other when they're within reasonable range.
- Place nodes in open areas, not inside cabinets or behind large appliances
- Elevated positions (on a shelf or countertop) generally outperform floor-level placement
- Avoid placing nodes near microwaves or cordless phone bases, which can cause interference
Add and pair satellite nodes via the app
Plug each satellite node into a wall outlet in its chosen location. Open your mesh app and follow the on-screen prompts to add each node to the network. The app will typically search for new hardware automatically. Once paired, the app will confirm signal strength between nodes - green or strong readings mean the placement is working well.
Test coverage and fine-tune placement
Once all nodes are paired, walk to the previously problematic areas of your home and run a quick speed test using any free speed-test app or website. Compare results to what you experienced before. If a spot is still sluggish, try repositioning the nearest satellite node a few meters closer to the primary node, then retest.
Name Your New Network Differently
If you later find that some smart devices struggle to stay connected after the mesh is running, the issue may not be your new setup - it could be a protocol mismatch or interference. The article on smart home connection drops walks through the most common causes.
Renter-Specific Considerations and Long-Term Network Health
Once your mesh network is running, a few habits will keep it reliable without causing any issues with your landlord or building management.
Keep it non-permanent. Route any ethernet cables - if you choose to use a wired backhaul - along baseboards using removable adhesive cable clips rather than stapling or drilling. These leave no marks and are easy to remove.
Secure your network properly. A shared building or apartment complex means other networks are nearby. Use a strong, unique password for your network and enable WPA3 encryption if your system supports it. For a broader look at smart home security habits, see our network hygiene guide.
Update firmware periodically. Mesh systems receive software updates that patch security vulnerabilities and improve performance. Most systems handle this automatically, but it's worth confirming in the app that automatic updates are turned on.
Document your setup. Take a quick photo of how and where each node is placed. When you move out, this makes it easy to pack everything correctly and confirm nothing has been left behind or mistaken for a fixture.
Check Your Lease Before Adding Hardware
The content on this site is for informational purposes only and is not a substitute for professional advice. Always consult a qualified professional for guidance specific to your situation.