
Tyre Pressure, Tread Depth, and the Safety Checks Most Drivers Forget

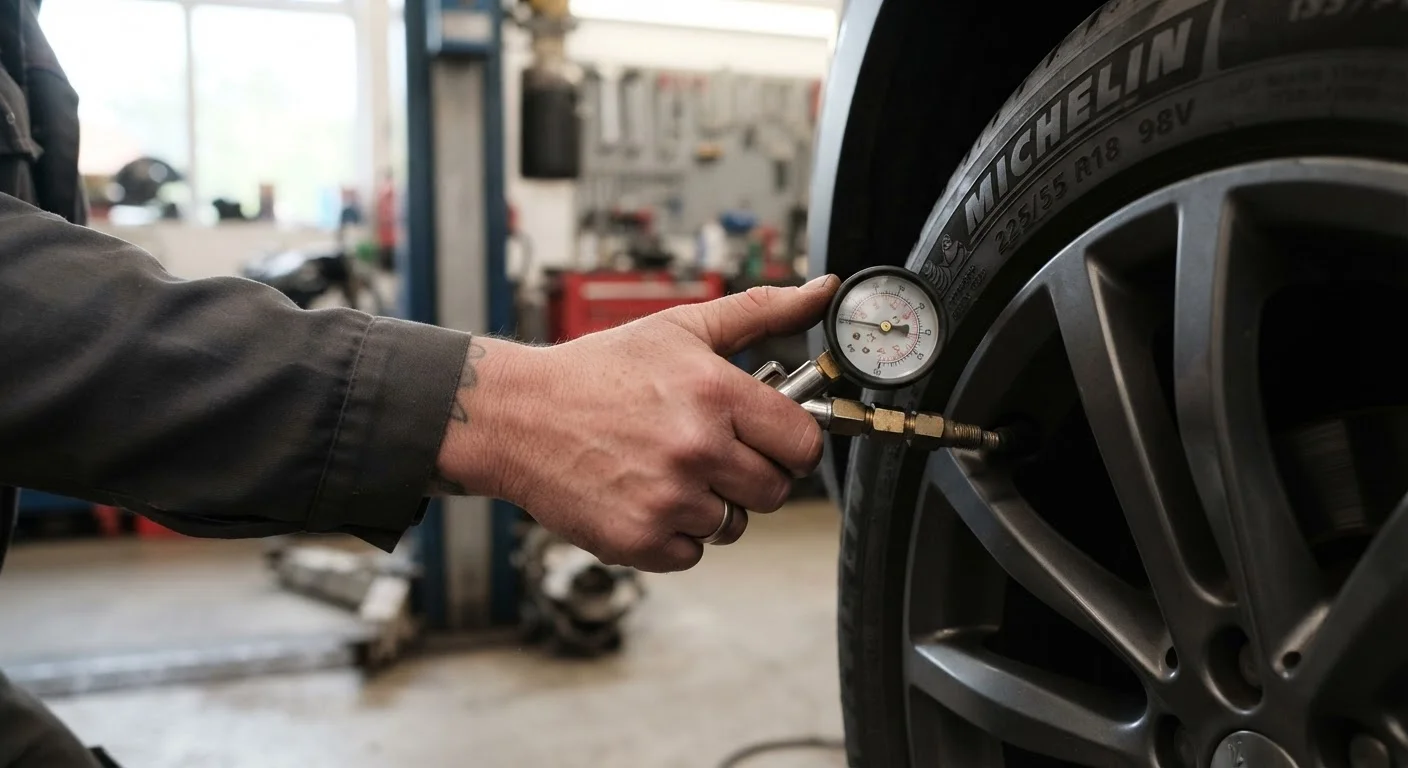
Photo: InfoAlly.net | Finding Info Made Easy editorial
Key Takeaways
- Tyre pressure should be checked at least once a month and always when tyres are cold.
- The legal minimum tread depth in the US is 2/32 of an inch, but 4/32 is a safer practical threshold.
- Both underinflation and overinflation reduce grip and can increase stopping distances.
- The correct tyre pressure for your vehicle is in the owner's manual or on the driver's door jamb - not on the tyre sidewall.
- A simple penny or quarter coin test gives you a reliable tread depth reading without special tools.
Why These Two Checks Matter More Than Most Drivers Realize
Tyres are the only contact point between a two-ton vehicle and the road surface. Yet tyre pressure and tread depth are among the most consistently overlooked maintenance items - often skipped until something goes visibly wrong. By that point, the margin of safety has already been quietly eroding for weeks or months.
Underinflated tyres generate excess heat, wear unevenly, and increase fuel consumption. Overinflated tyres reduce the contact patch, making handling skittish, especially on uneven surfaces. Meanwhile, worn tread dramatically extends stopping distances on wet roads - a factor explored further in our article on how rain changes vehicle handling.
Neither check requires mechanical expertise. With basic tools and five to fifteen minutes, you can complete both and know with confidence where your tyres stand. For context on how these checks fit into your broader routine, see The Pre-Drive Routine That Takes Under Three Minutes.
What you will need
What You'll Need
Both checks require minimal equipment. Having the right tools on hand makes the process faster and more accurate.
Tyre pressure gauge
Measures the air pressure inside each tyre in PSI (pounds per square inch) so you can compare against the manufacturer's specification.
Air compressor or pump
Adds air to underinflated tyres to bring them up to the correct pressure.
Penny and quarter (US coins)
Used for the coin tread-depth test - a quick, no-tool method to assess remaining tread.
Tread depth gauge
Provides a precise measurement of tread depth in 32nds of an inch, more accurate than the coin method.
Valve cap replacement set
Keeps valve stems sealed against dust and moisture; replace any missing caps you find during your check.
Step-by-Step: Checking Tyre Pressure and Tread Depth
Follow these steps in order. The full process typically takes under 15 minutes for all four tyres plus the spare.
Check tyres when they are cold
Tyre pressure readings are most accurate when the tyres have not been driven on for at least three hours, or have traveled fewer than one mile at low speed. Heat from driving causes air to expand, producing a falsely elevated reading. If you must check after driving, note that the reading will be slightly higher than the true cold pressure - factor this in or wait for the tyres to cool.
Find your vehicle's correct tyre pressure
Look for the tyre placard on the inside of the driver's door frame. It lists the recommended cold inflation pressure in PSI for front and rear tyres - these figures may differ. If the placard is missing or illegible, check the owner's manual. Do not use the pressure number printed on the tyre sidewall - that is the maximum safe pressure, not the operating target.
Remove the valve cap and attach the pressure gauge
Unscrew the small valve cap on the tyre's valve stem and set it somewhere safe - these are easy to lose. Press the gauge firmly and straight onto the valve stem. A good seal gives you a single steady reading; if air hisses audibly, reseat the gauge. Note the PSI reading and compare it against the placard specification.
Inflate or deflate to the correct pressure
If a tyre is low, attach an air compressor hose to the valve stem and add air in short bursts, checking the pressure frequently - it is easy to overshoot. If a tyre is overinflated, use the small pin on the back of most gauges, or a thin object, to depress the valve core and release air slowly. Recheck after each adjustment. Replace the valve cap securely when done.
Perform the coin tread depth test
Insert a penny into the tread groove with Lincoln's head pointing down into the tyre. If you can see the top of Lincoln's head, the tread depth is at or below 2/32 of an inch - the legal US minimum - and the tyre should be replaced promptly. For a more conservative check, use a quarter: if the top of Washington's head is visible, tread is at or below 4/32 of an inch, which is the threshold many safety experts recommend for replacement, particularly for wet-weather driving.
Test at multiple points across the tyre width and at several locations around the circumference to detect uneven wear patterns.
Record your findings
Note the date, each tyre's pressure reading, and any observations about wear patterns. Logging this information helps you spot gradual pressure loss or accelerating tread wear over time, which can indicate a slow leak or mechanical issue. See Keeping a Logbook for a practical framework for tracking vehicle maintenance records.
How Often Should You Check?
Common Mistakes and When to Take It Further
The most frequent error drivers make is reading the pressure number printed on the tyre sidewall and treating it as the target. That figure is the maximum pressure the tyre can handle safely - not the recommended operating pressure for your vehicle. Always source your target PSI from the door jamb sticker or owner's manual.
Uneven tread wear across a single tyre - for example, heavy wear on one shoulder - may point to an alignment or suspension issue that a qualified mechanic should inspect. Similarly, if you find yourself topping up pressure more than once a month, there may be a slow leak worth investigating professionally.
Don't Rely Solely on TPMS Alerts
If your vehicle is equipped with a Tyre Pressure Monitoring System (TPMS), treat the dashboard warning as a prompt to check manually - sensors typically trigger only after pressure has dropped significantly below the recommended level. For a full explanation of dashboard indicators, see Dashboard Warning Lights: A Driver's Quick Reference.
Building these checks into a seasonal routine pays dividends. Our guide on seasonal car preparation covers how tyre condition fits into a broader pre-season checklist. And if you want to understand what your pressure readings are telling you beyond basic safety, What Your Tyre Pressure Is Actually Telling You goes deeper on interpreting PSI changes over time.
The content on this site is for informational purposes only and is not a substitute for professional advice. Always consult a qualified professional for guidance specific to your situation.